Results 1 to 9 of 9

Thread: Cutting Acrylic.....

  1. #1
    ORCA Forum Member MitchReef's Avatar
    Join Date
    Sep 2007
    Posts
    1,807

    Cutting Acrylic.....

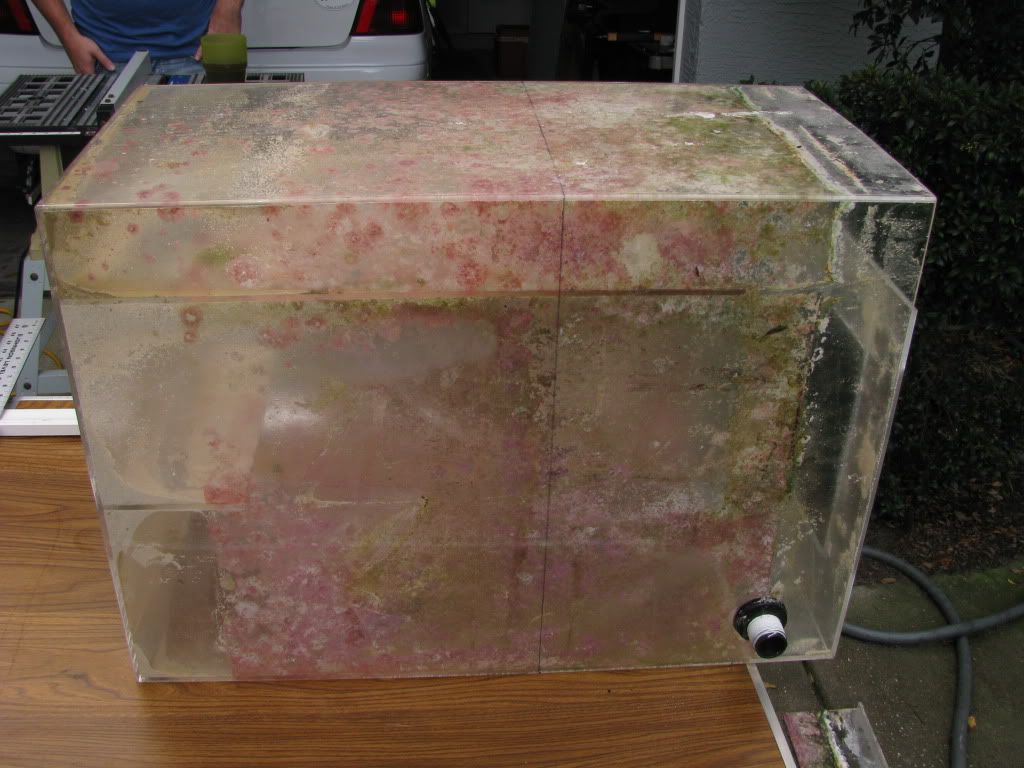
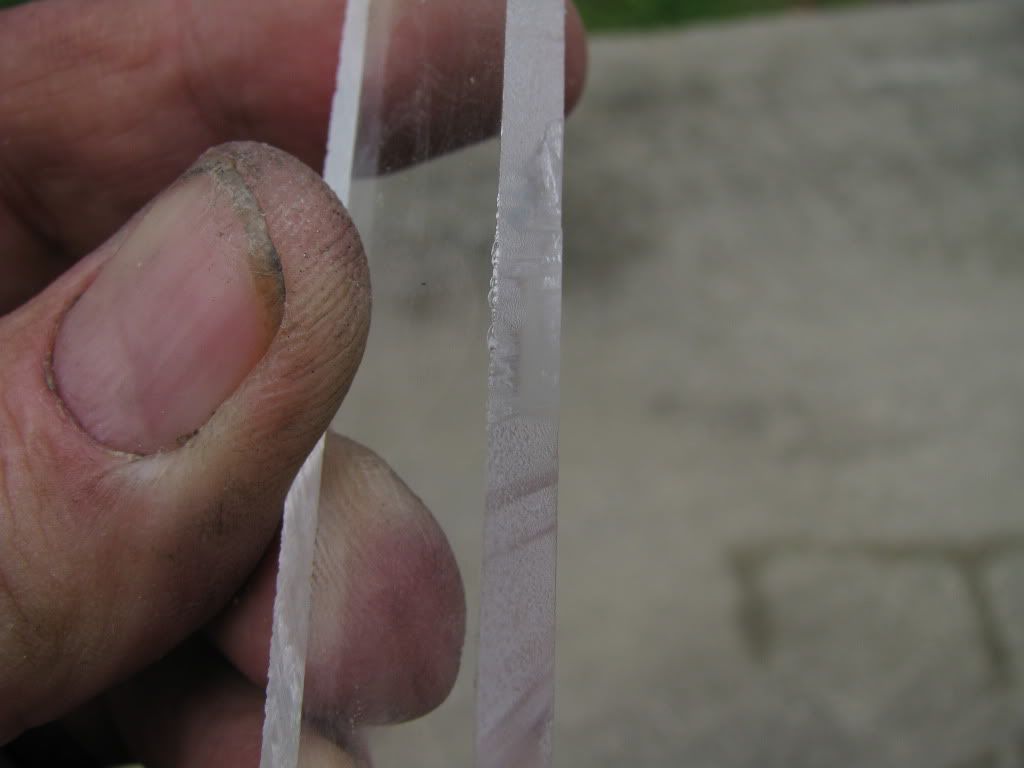
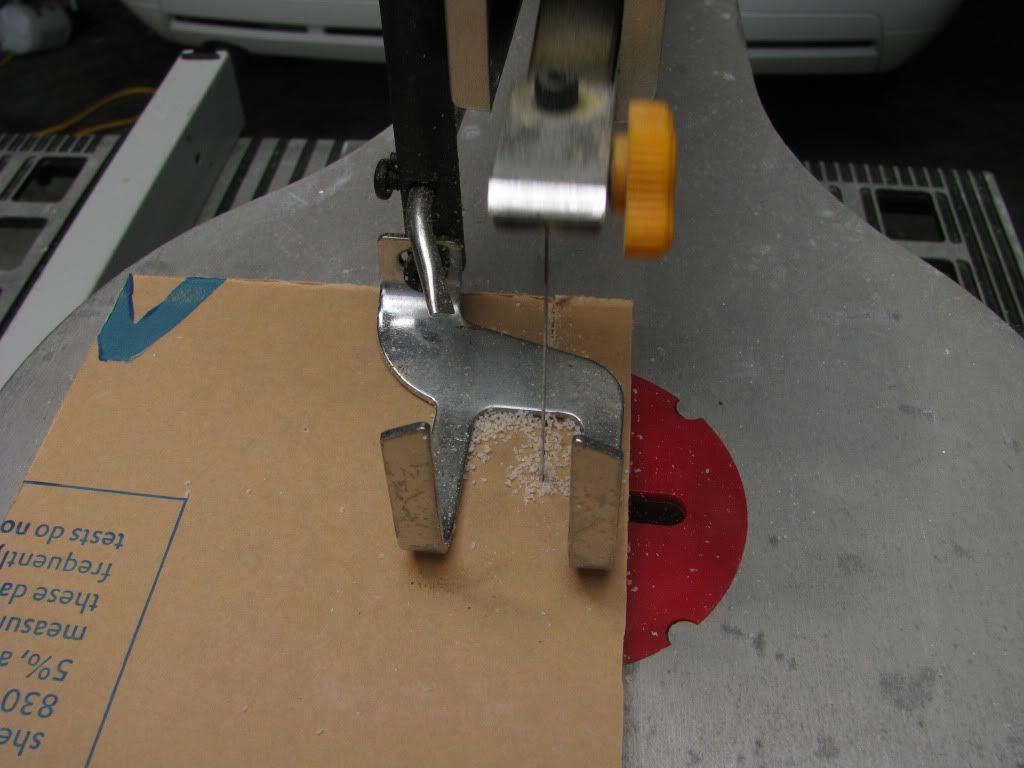
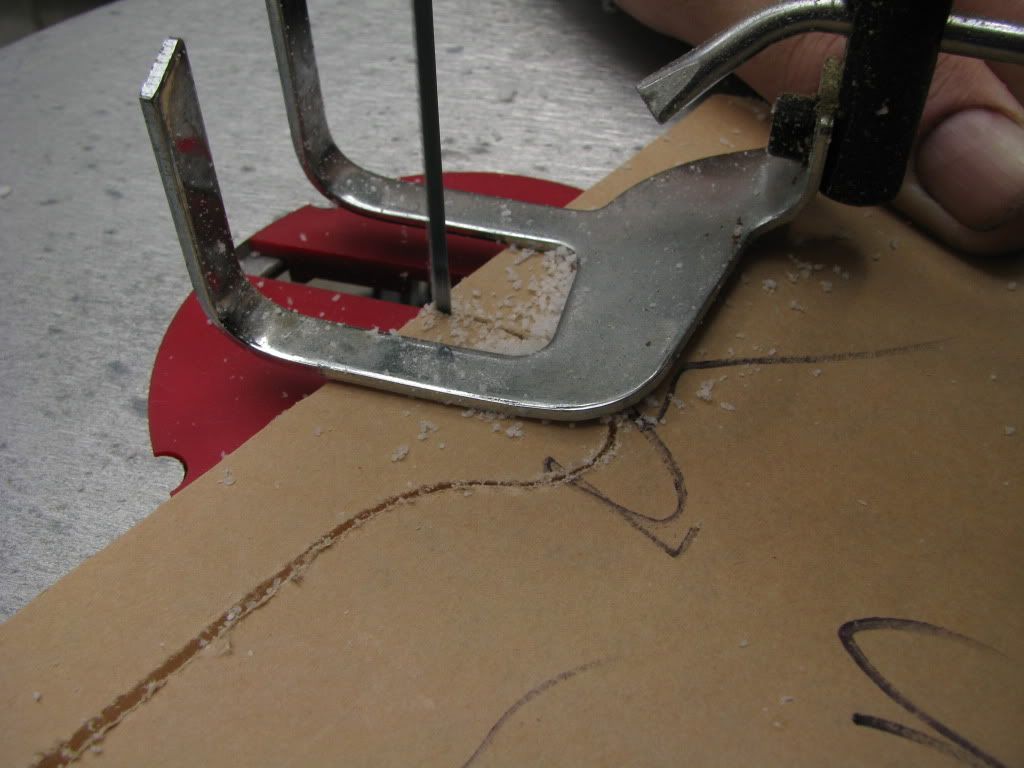
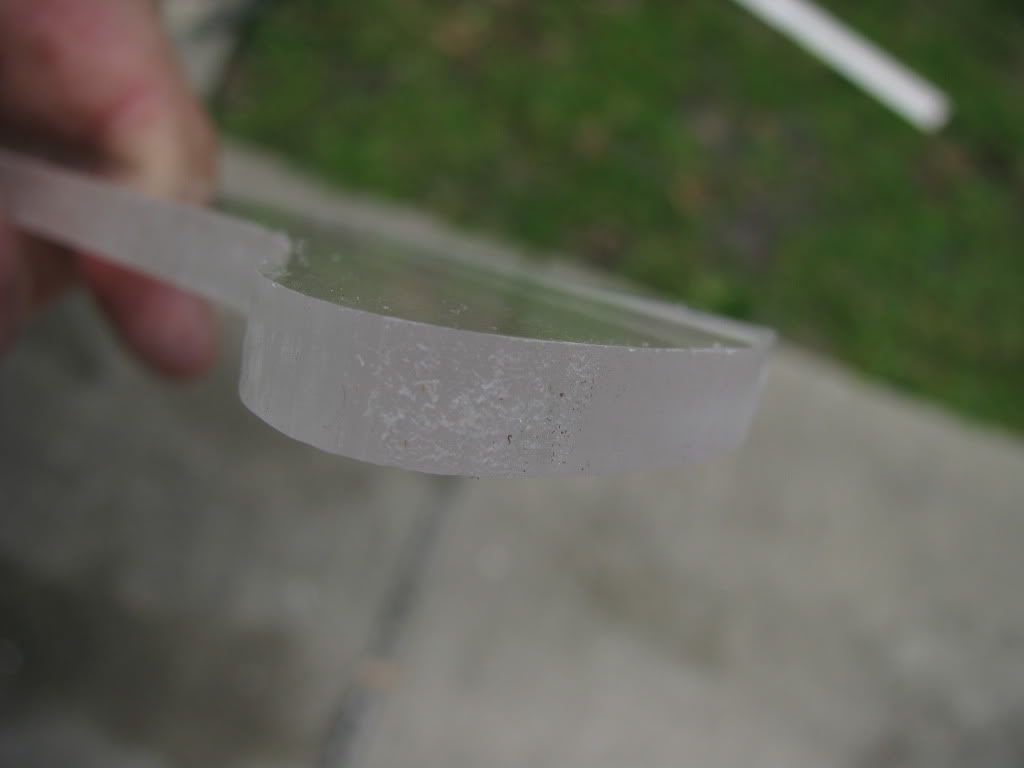
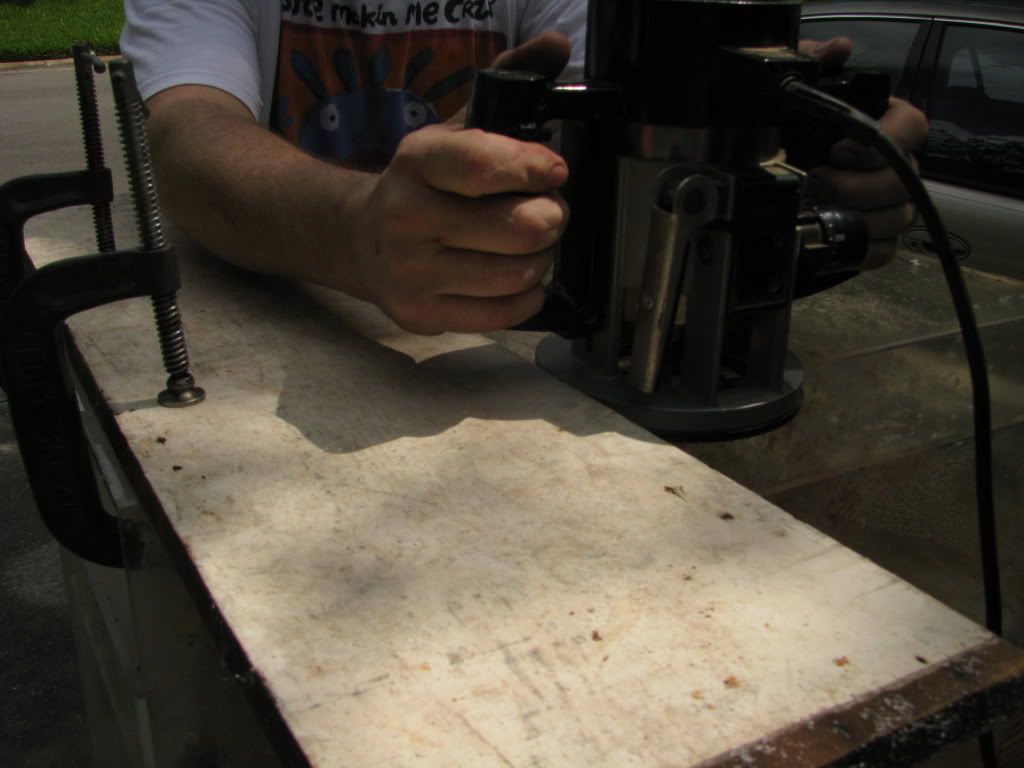
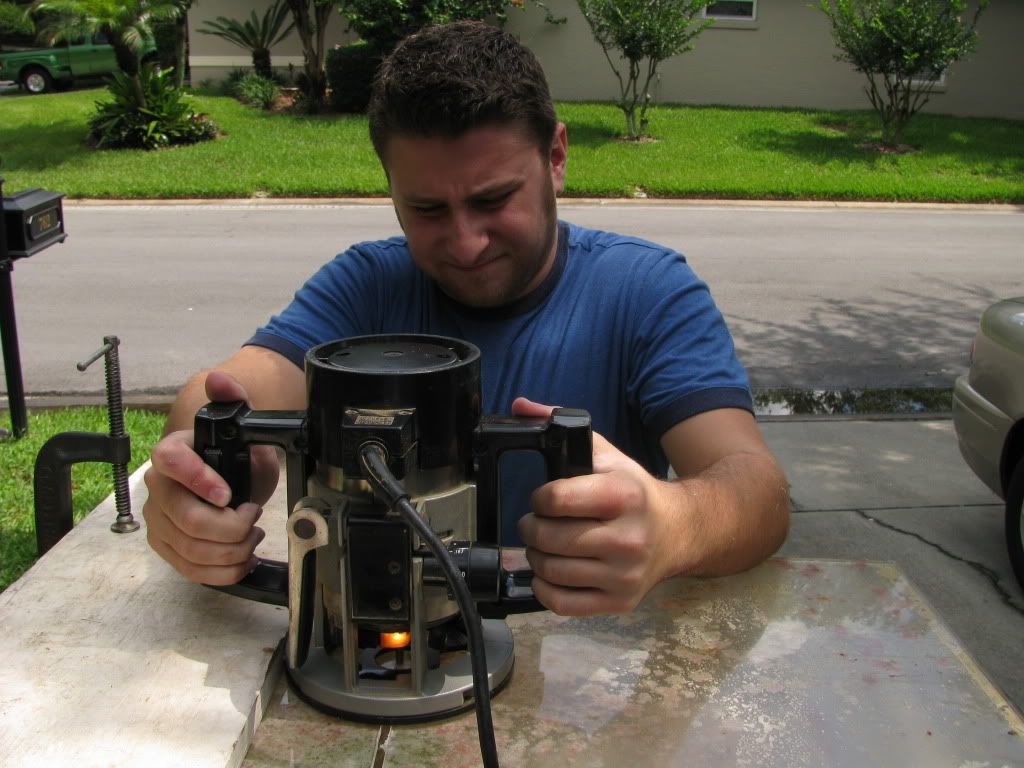
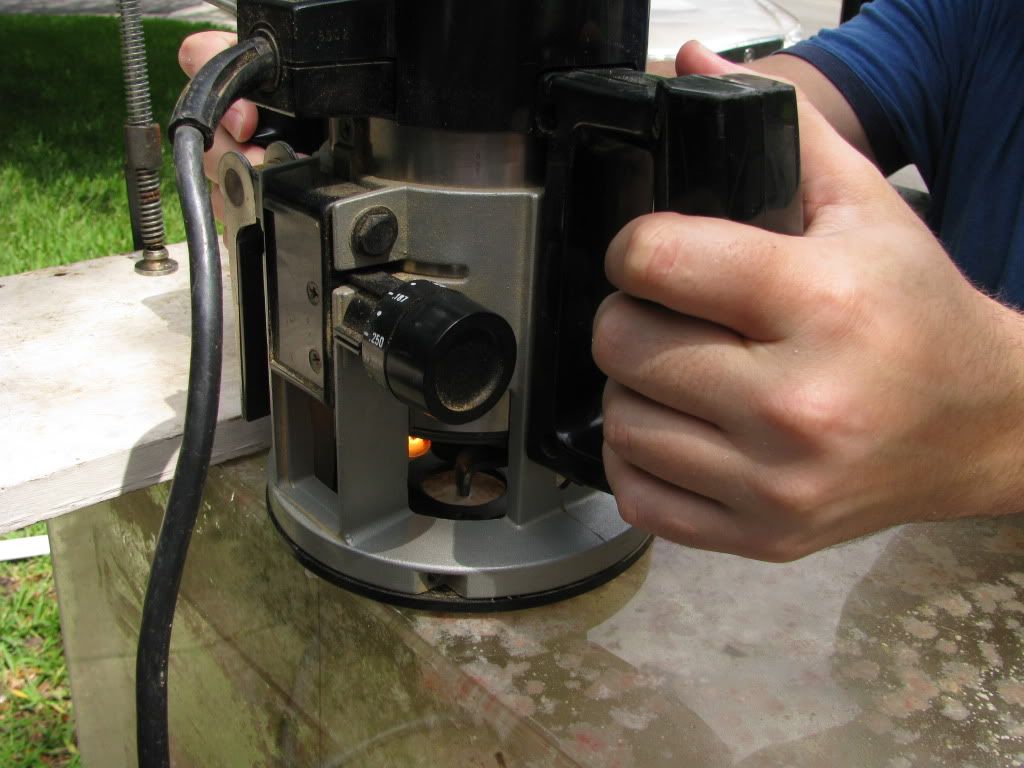
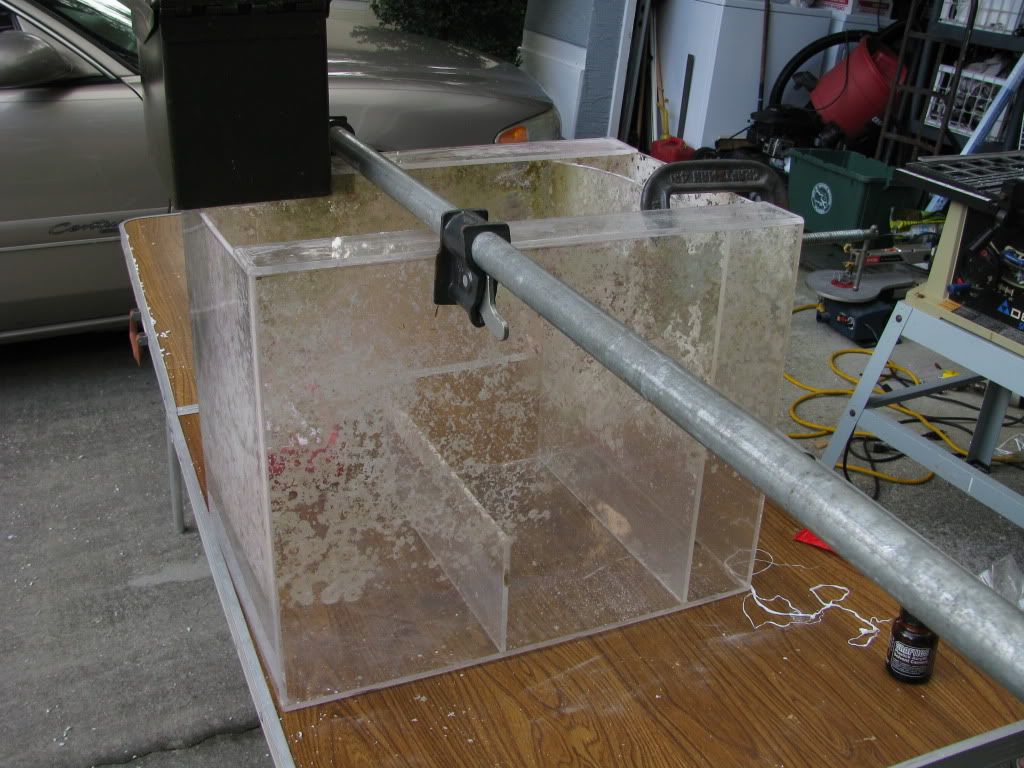
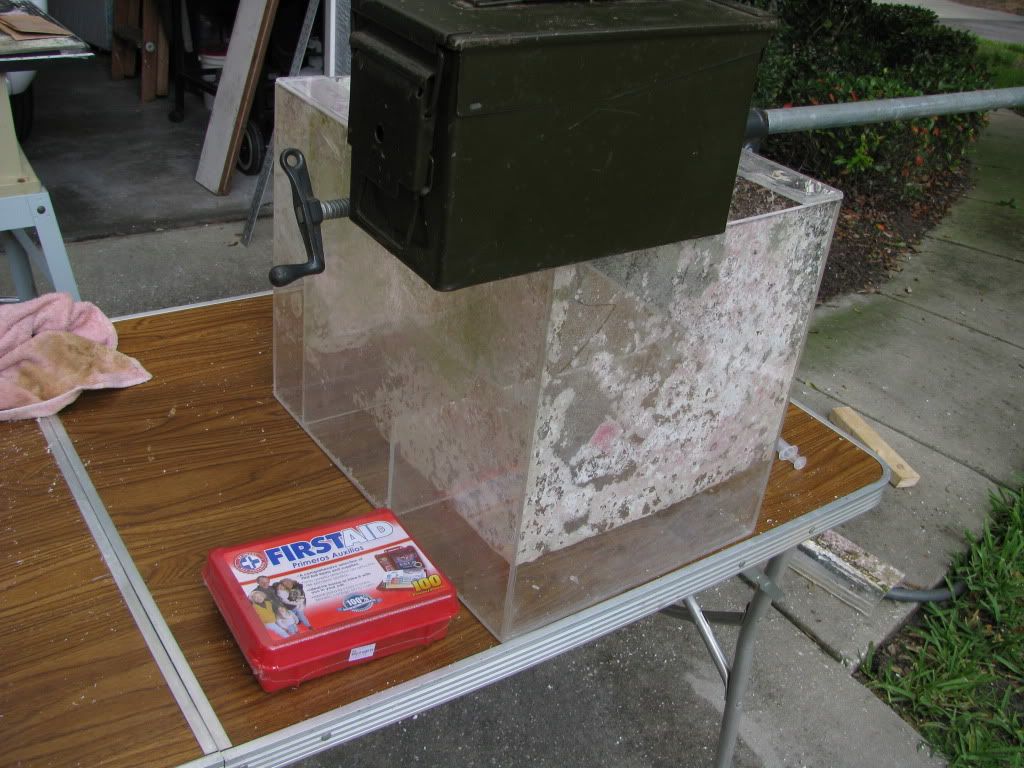
    Josh (CheekyMonkey) called me and said his Fuge for the 120G is WAAAYYYYYYY too tall to work well, and asked what would be involved in shortening it up a bit....I said he could bring it over and we will cut it down some. He said it's thin Acrylic, so cracking will be an elevated risk....I have a couple of tricks up my sleeve and I think we will be okay...

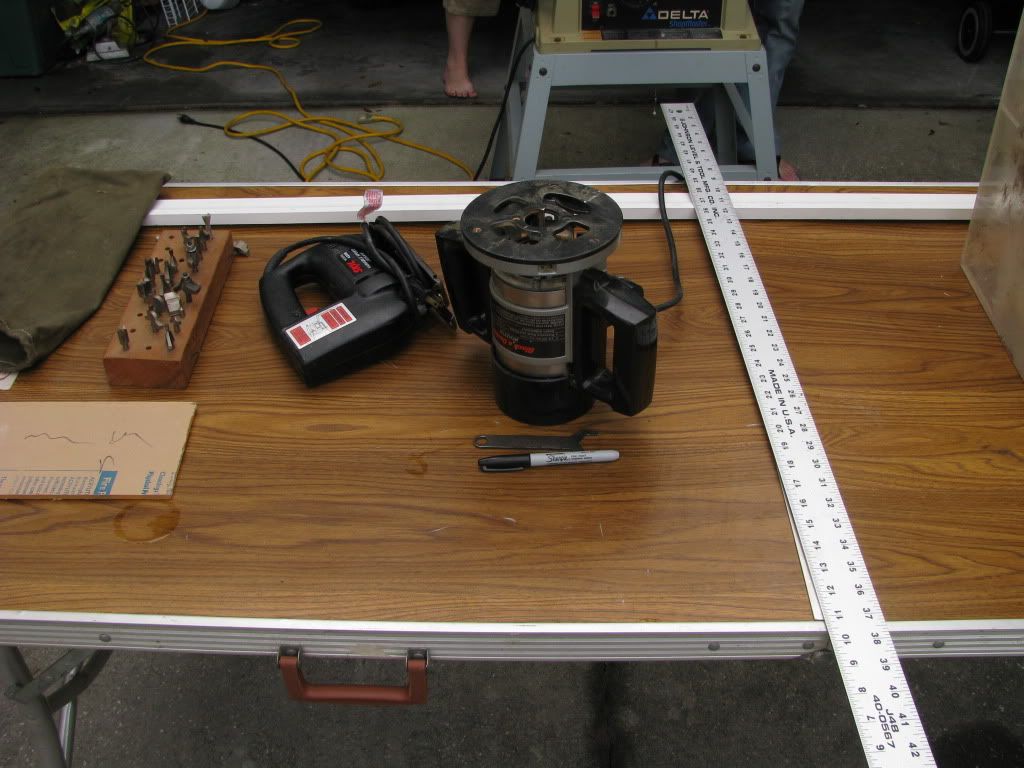
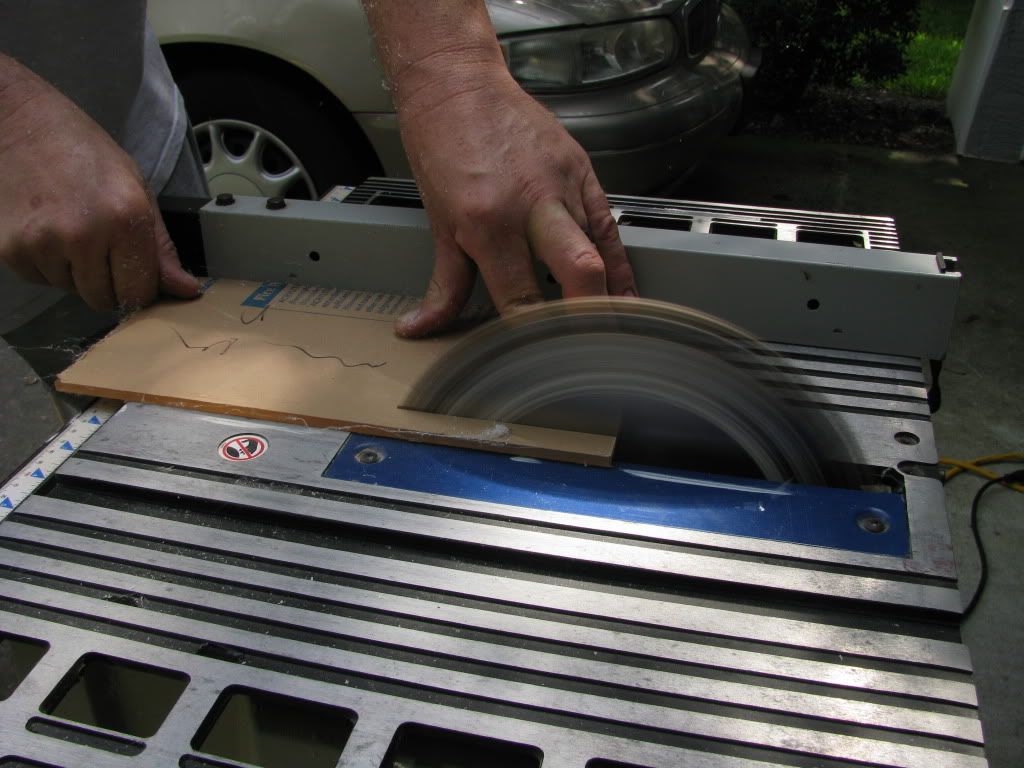
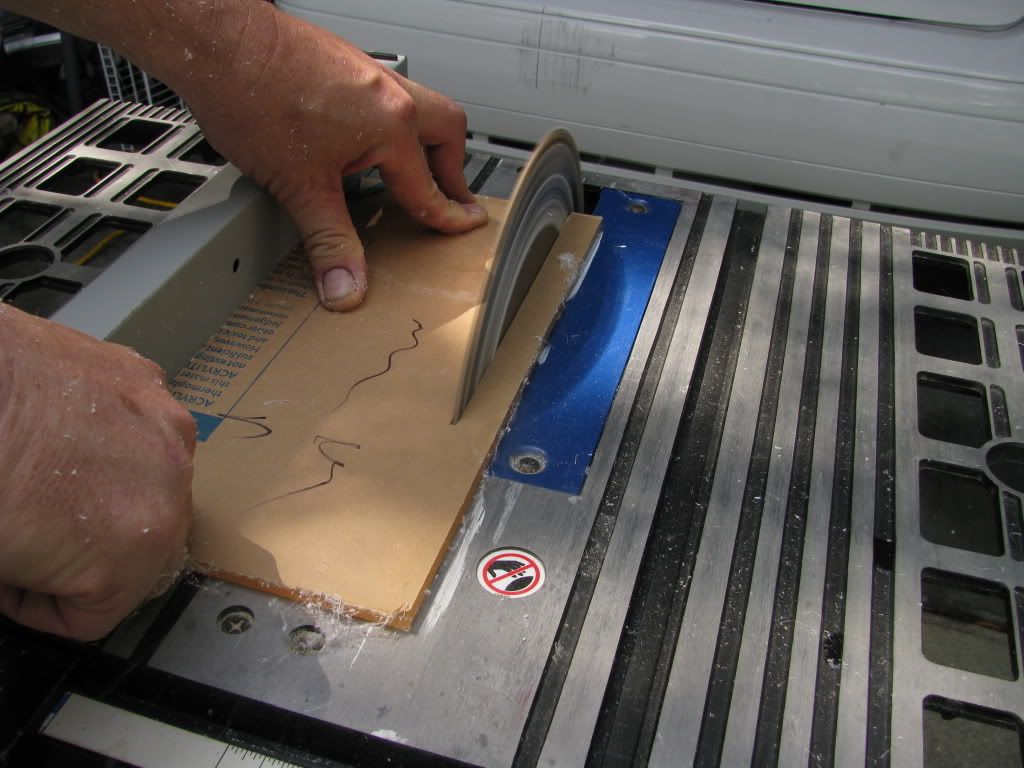
    I have some extra material, so I will figure I will pull out the camera and the different tools and show some hints and tips....

    More to follow......
    2009, 2010*and 2011 ORCA Mentoring Director. Proud to serve on the Board of Directors.
    (and I have no idea where the asterisk is coming from....)

  2. #2
    ORCA Forum Member Vitamin-B's Avatar
    Join Date
    Jan 2008
    Location
    Volusia
    Posts
    703
    keep that first aid kit handy....oh wait, i remember...you vowed not to break the seal...
    maybe start a tradition....for each set of pics you take to share on the orca site, at least one picture should contain "the kit".

  3. #3
    ORCA Forum Member TANKSALOT's Avatar
    Join Date
    Mar 2009
    Location
    Palm Bay, Florida
    Posts
    876
    I will be starting my mini frag tank this weekend.
    I look forward to seeing what you have up your sleeve.

    Steve
    TANKSALOT
    aka - Steve
    Palm Bay, Florida


    Member of:
    Space Coast Reef Club
    Reef2Reef

  4. #4
    ORCA Forum Member MitchReef's Avatar
    Join Date
    Sep 2007
    Posts
    1,807
    (PLEASE CLICK ON THE PICTURES TO SHOW THEM FULL WIDTH.....I don't know what size to change them to for the site)

    Josh came over and we did the deed....this is the fuge as we started on it....

    this thing was serious tall for a fuge....it's laying on its side in this picture

    Most people cut acrylic with either a router, jigsaw or table saw....I will show the use of a scroll saw, a table saw and a router....


    First, I ran the Table Saw...I read once that if you run the blade all the way up and feed slowly that there is the least chance of cracking....


    Please note: I do not endorse using a table saw without a blade guard and push sticks...I just happen to live dangerously and to do it like this...

    This is the type of edge you get from a table saw....still requires a bit of sanding for a good gluing edge....


    Next, I cut a piece using my Scroll saw....

    Scroll saws and jigsaws allow some really neat curve cutting....


    The edge from a scroll saw is much tidier than with a jigsaw, but these also require a bit of sanding before gluing...


    The actual cutting of the fuge was done with a router and a straight cutoff bit....Here is the fuge being cut after jigging up the board as a guide....


    nice war-face Josh....

    This leaves the best edge by far, but unfortunately I didn't snap any....

    So, we got it cut, and had to do a little bit of extra effort to cut the existing internal baffle, but we aren't illustrating that....after cutting a couple of strips from the side of the part we cut off, we glued them up to pull the old bowing in....

    A bit of clamping and a weight to keep the corner down and it ended up good....


    We let that set up and added a bead of honey thick Weld-on #16 to the joints of the bracing and Josh had to go, so there is no "After" picture....sorry... but it is now 16 inches tall versus the original 28 I think it was...and is a much more livable size....

    Hope this helps somebody out at some point.....

    Mitch
    2009, 2010*and 2011 ORCA Mentoring Director. Proud to serve on the Board of Directors.
    (and I have no idea where the asterisk is coming from....)

  5. #5
    ORCA Forum Member TANKSALOT's Avatar
    Join Date
    Mar 2009
    Location
    Palm Bay, Florida
    Posts
    876
    Excellent info. Thanks for sharing.
    I just picked up a custom built router table and plan to use it for my acrylic projects as much as possible.

    My first project this week will be a mini frag tank. I will post a DIY thread when I get started.

    Steve
    TANKSALOT
    aka - Steve
    Palm Bay, Florida


    Member of:
    Space Coast Reef Club
    Reef2Reef

  6. #6
    ORCA Forum Member MitchReef's Avatar
    Join Date
    Sep 2007
    Posts
    1,807
    Excellent....I would love to see a nice DIY post....
    2009, 2010*and 2011 ORCA Mentoring Director. Proud to serve on the Board of Directors.
    (and I have no idea where the asterisk is coming from....)

  7. #7
    ORCA Forum Member Cheekymonkey's Avatar
    Join Date
    Aug 2007
    Location
    Orlando
    Posts
    3,325
    Well its up and running now. I have pictures that will go up as soon as we find the camera USB cord. Got pictures of it finished and empty as well as running under the tank.
    Joshua Solomon

  8. #8
    ORCA Forum Member
    Join Date
    Jan 2009
    Location
    Indialantic, FL
    Posts
    54
    to cut the holes in my acrylic DT for my CL bulkheads I used a router with spiral upcutting bits ... recommended to me by Dave who builds custom acrylic tanks (he's a sponsor on this forum) & does greta work .. here are a few pics of me cutting holes & of dave's finisghed work ...
    Attached Thumbnails Attached Thumbnails mystand11-72.jpg   mystand12-72.jpg   mystand10-72.jpg   sump-fuge 72.jpg   mystand13-72.jpg  


  9. #9
    ORCA Forum Member
    Join Date
    Jul 2012
    Posts
    1
    keep that first aid kit handy....oh wait, i remember...you vowed not to break the seal...
    maybe start a tradition....for each set of pics you take to share on the orca site, at least one picture should contain "the kit".

Posting Permissions

  • You may not post new threads
  • You may not post replies
  • You may not post attachments
  • You may not edit your posts
  •  

 
Coral Restoration Foundation MASNA